Repairing Scratches on 800mm Bathroom Vanities

Bathroom vanities often take center stage in any bathroom, serving both practical and aesthetic purposes. Over time, vanities can endure a fair share of wear and tear, with scratches being a common issue. These imperfections might seem minor at first, but they can detract from the overall look of your bathroom. Understanding the importance of maintaining your bathroom vanity can help preserve its charm and functionality. Keeping a bathroom vanity looking pristine involves more than just regular cleaning. Scratches, in particular, can mar the surface, making it look older and less cared for. Tackling scratches not only refreshes the look but also protects the vanity from further damage over time. With just a bit of effort, you can extend the life and appeal of your vanity and ensure it remains a beautiful focal point in your bathroom. Identifying and Assessing Scratches on Your Bathroom Vanity 800mm Recognizing scratches on your bathroom vanity is the first step in addressing them. Start by closely inspecting the surface under good lighting. Look for discoloration, linear marks, or rough patches. Once you spot scratches, assess their depth and extent. To differentiate between minor and deep scratches, consider these points: – Minor Scratches: These are surface-level abrasions that don’t significantly disrupt the texture of the vanity. They’re often barely visible and might only be noticeable from certain angles or in specific lighting. – Deep Scratches: These penetrate the surface, creating a groove that you can feel when you run your fingers over it. They’re more substantial in appearance and can sometimes expose the underlying material of the vanity. It’s essential to know the difference because the approach to repair varies depending on the scratch’s depth. While minor scratches might be fixed with simple buffing, deeper ones might need extra attention or even involve professional help to fully restore the vanity’s appearance. Preparing the Surface for Repair Before diving into the repair process, preparation is key. Properly readying your bathroom vanity ensures the repair is effective and longer lasting. Here’s how to get started: 1. Clear the Area: Remove any items from the vanity surface. This includes toiletries, decorations, or anything else in the vicinity that might get in the way. 2. Clean the Vanity: Use a gentle cleaning solution to rid the surface of dust, grime, or any leftover residue. A microfiber cloth dampened with water and mild soap works well for this purpose. Avoid harsh chemicals that might damage the vanity further. 3. Select Your Tools and Materials: Depending on the scratches, gather the appropriate tools. For minor ones, you might need a soft cloth, a mild abrasive cleaner, or a polishing compound. For deeper scratches, consider using a wood filler or repair kit designed for vanities. Taking time with these preparatory steps sets the stage for effective scratch repairs, allowing you to address the issue efficiently and keep your bathroom vanity looking its best. Repairing Minor Scratches Addressing minor scratches on your bathroom vanity can be a straightforward process. These surface blemishes often require just a little patience and the right materials. Here’s how you can tackle them: 1. Gently Buff the Surface: Start by lightly buffing the area with a soft cloth. You can use a mild abrasive cleaner or toothpaste as a simple home solution. 2. Apply a Polish: Follow up with a polishing compound or furniture polish. This adds a bit of shine and can fill the scratch just enough to disguise it. 3. Use a Wax Stick: For more resilient marks, consider a wax repair stick. This tool helps fill in scratches effectively, blending them with the rest of the surface. These steps should be enough to handle those pesky minor scratches, restoring the smoothness and visual appeal of your bathroom vanity. Repairing Deep Scratches For deeper scratches, a bit more effort is required, but the results will be worth it. These gouges typically need a different approach: – Fill the Scratch: Use a wood filler or a special vanity repair kit to fill the groove. Apply it carefully, using a fine applicator or your finger, and smooth it out gently. – Sand and Smooth: Once the filler is dry, sand the area lightly with fine-grit sandpaper. This ensures the surface is even and ready for the next step. – Finish with a Sealant: To protect your efforts, apply a clear sealant or polish. This not only preserves your work but also adds a professional-looking finish to the repaired area. When scratches are too deep or the repair seems complex, you might want to seek professional assistance to ensure the vanity gets the care it needs. Preventing Future Scratches Keeping your bathroom vanity free from scratches involves a little foresight. Here are some easy ways to prevent future damage: – Use Mats or Liners: Place mats or liners under items like toiletry bottles and metal objects to avoid direct contact with the vanity surface. – Regular Cleaning: Regularly wipe down the vanity with a soft damp cloth, avoiding harsh chemicals that might deteriorate its surface over time. – Avoid Sharp Items: Keep sharp objects like scissors away or ensure they don’t drag across the vanity. By incorporating these habits, you can significantly prolong the lifespan and appearance of your bathroom vanity, reducing the need for frequent repairs. Keeping Your Bathroom Vanity Scratch-Free Repairing scratches on your bathroom vanity elevates its look and ensures it continues to serve your bathroom well. Taking the time to identify the type of scratch and opting for suitable repair techniques keeps it looking fresh and well-maintained. Incorporating preventative measures can greatly reduce the chances of future damage. With care and attention, your bathroom vanity remains a stylish and functional piece in your home, highlighting your commitment to a beautiful and lasting bathroom space. For a bathroom that truly shines, maintaining your bathroom vanity is key to a lasting impression. If you’re looking to upgrade or find the perfect match for your space, explore our range of bathroom vanity 800mm options at CARGO Bathroom
Why Is My Steel Bathtub Making Noise?
Ever been startled by unexpected noises coming from your steel bathtub? You’re not alone! Steel bathtubs are durable and attractive, but they’re not immune to creating some odd sounds from time to time. These noises can range from faint creaks to distinct popping sounds, leaving many homeowners confused and sometimes a bit worried. Understanding why these mysterious noises happen is the first step in addressing them so that you can enjoy a peaceful soak without any uninvited auditory surprises. No one wants a bathtub that unexpectedly becomes a percussion instrument every time it’s used. You might wonder, “Is something breaking?” or “Is this normal?” Rest assured, you’re neither imagining things nor necessarily facing a problem that can’t be solved. It’s all about discovering the root causes of these sounds and knowing when it might be time to fix things up. We’ll explore some common reasons why your steel bathtub might be getting chatty and offer guidance on how you can deal with it. Common Causes of Noise in Steel Bathtubs Steel bathtubs have their charm, but they can talk back through noises for several reasons. Here’s a look at what might be causing them to get noisy: – Temperature Fluctuations: Steel is known to expand and contract with changes in temperature. If you’ve just used hot water, the rapid cooling when you finish might make the steel creak or pop. This is usually harmless but can be a bit unsettling if you’re not expecting it. – Improper Installation: Not every bathtub is installed perfectly. If the supports or mounts aren’t quite right, the weight of water and a person can cause slight shifts that result in creaks and groans. Imagine standing on an uneven floorboard—that’s similar to what can happen with a misaligned bathtub. – Pipe and Fitting Issues: Sometimes, the noises aren’t from the bath itself but from the surrounding plumbing. Loose fittings or pipes near the tub can vibrate or bang against surfaces when water is in use. Pay attention to these sounds to see if they occur when turning taps on or off. By getting familiar with these common culprits, you’re already on your way to silencing that chatty bathtub. Understanding these factors can reassure you that the noises don’t necessarily signal impending disaster but might be part of the bathtub’s normal operation or a simple fix. Identifying the Source of the Noise Once you’ve recognised the various types of noises coming from your steel bathtub, identifying their exact source is the next step. It’s a bit like playing detective—but don’t worry, it’s straightforward with a little guidance. – Listen Closely: When you first hear a noise, take note of its timing and frequency. Is it happening only during a bath? Or does it occur as the water is draining? Pinpointing when the noise starts can offer clues about its origin. – Evaluate the Type of Noise: Try to distinguish whether the noise is high-pitched, like a squeak, or deep and echoing, like a thud. Different sounds often suggest different fixes. Sharp noises might indicate friction or movement, while softer, deeper noises could relate to underlying support structures. – Inspect the Area: Check around your bathtub. Look at the surrounding walls and flooring, especially for any visible damage or unusual movement. Sometimes a loose tile or a creaky floorboard might amplify the sound, making it seem more significant than it actually is. Armed with this knowledge, addressing the noise becomes much easier. At least you’ll know where to start looking or which professional to consult if needed. Solutions and Preventive Measures Now that you’ve figured out the why and where, let’s talk about keeping that tub hush-hush. Even if you’re a bit of a DIY enthusiast, some tasks might need professional attention. Here’s some helpful info: – Installation Tips: When setting up a steel bathtub, make sure it’s fitted correctly. The surface should be completely level, with secure supports. If you’re noticing constant creaking, it might be time to get someone to double-check the setup. – Regular Maintenance: Regularly check for loose tiles or weakened caulking. Not only will this keep things quiet, but it can also extend your tub’s life. Inspect your fixtures for any wear and tear—loose fittings often lead to unnecessary noises. – Insulation Solutions: Consider adding sound-dampening insulation around the tub, especially if it’s installed on a hollow surface. There are many materials designed to absorb and reduce sound, which can make a world of difference. When to Call a Professional Sometimes, despite your best efforts, the noise persists. That’s when it’s time to bring in a professional. Here’s when to consider professional help: – Persistent Noises: If the noise doesn’t stop after checking all possible causes, there could be a hidden issue needing expert eyes. – Complex Plumbing: If you suspect that the noise involves plumbing, getting an expert will save time and possibly prevent further water damage. Plumbing issues can be tricky and often go beyond straightforward fixes. – Comprehensive Inspection: Professionals can conduct thorough checks and can suggest lasting solutions. They’re skilled at spotting issues that you may not even notice. By understanding when to call in the experts, you not only solve the immediate issue but ensure that it doesn’t become a future headache. A well-maintained bath means you can look forward to that relaxing soak without the unexpected soundtrack of creaks and pops. Ensuring a Quiet Bathing Experience With a better understanding of both causes and solutions, you’re well on your way to having a peaceful and pleasant bathing experience. Keeping your steel bathtub quiet is all about attentiveness and timely intervention. By staying informed about what might cause noise and knowing when to act, you safeguard your home against unwanted disturbances. Finally, remember there’s no substitute for quality installation and regular upkeeping of your bathtub environment. Investing some attention today ensures your bathtub remains a tranquil retreat. Enjoy your peaceful sanctuary without the interruptions, and enjoy every bath to its fullest. Discovering that a noisy bathtub
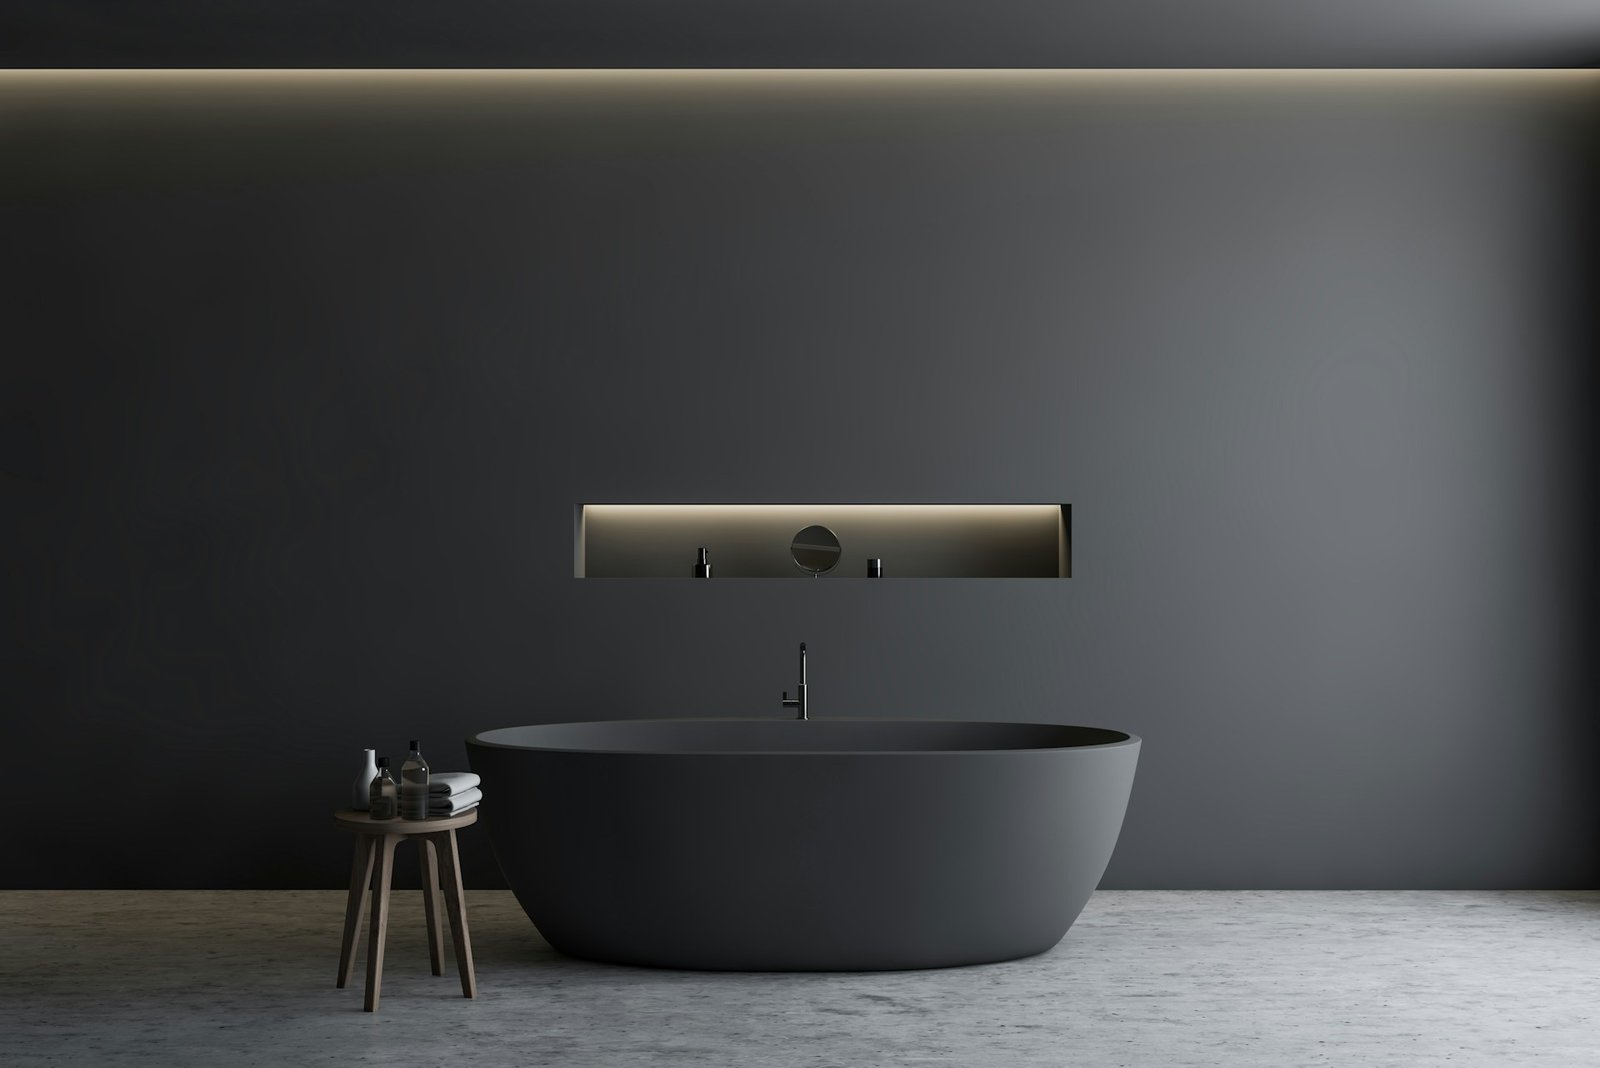
Installing Small Bathtubs in Tight Spaces
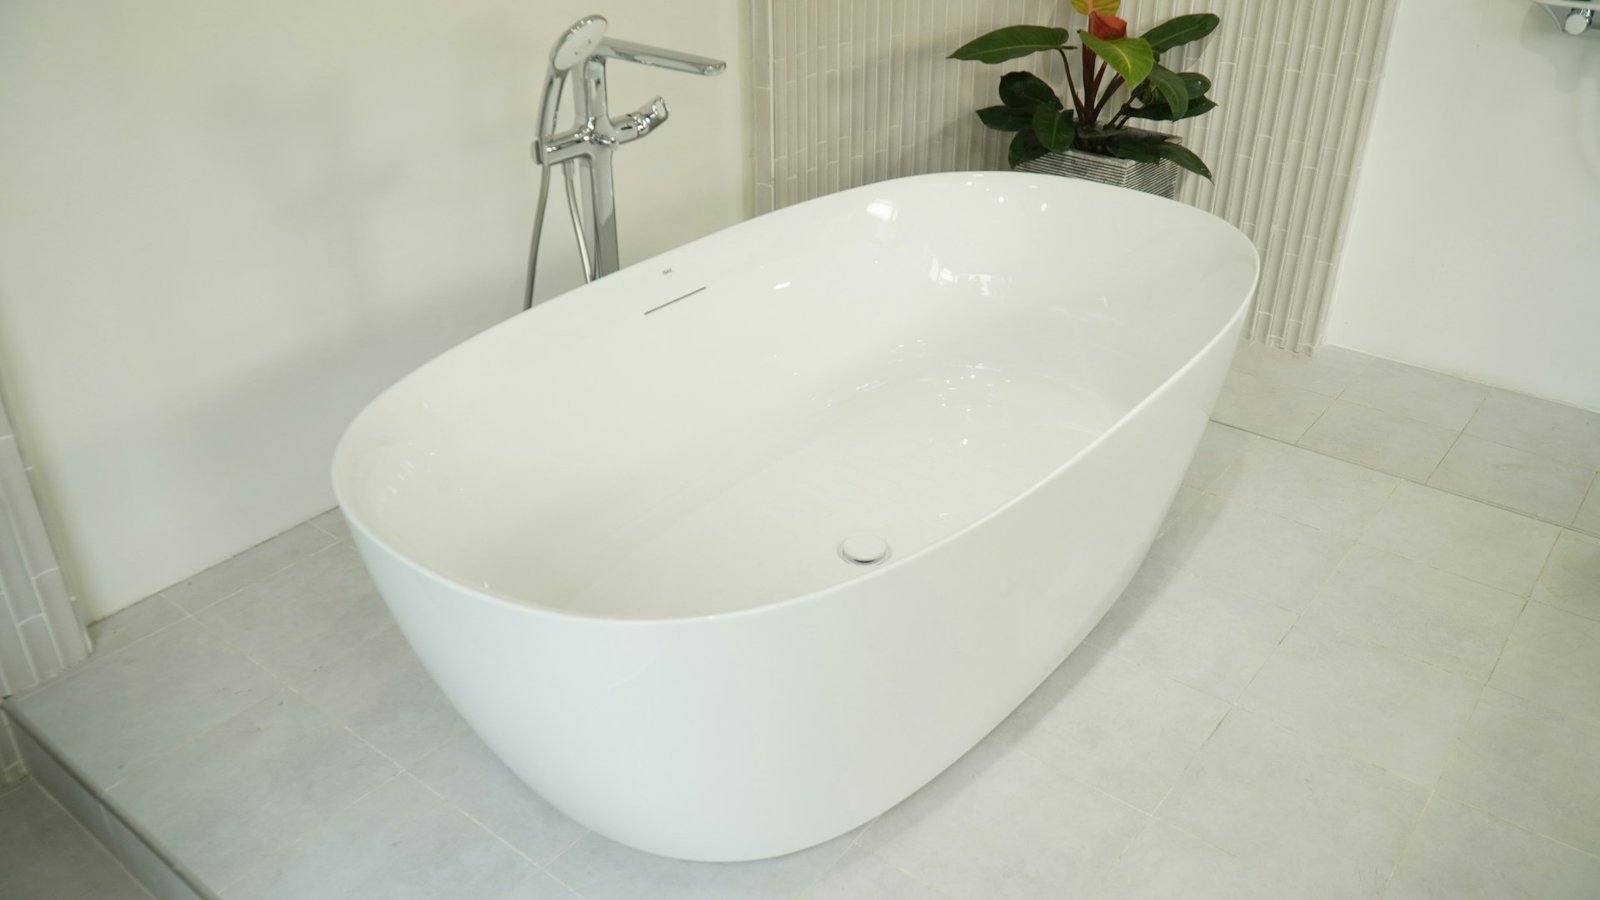
When thinking of redoing a bathroom, many of us daydream about luxurious tubs and spacious settings. But for those dealing with tight spaces, especially in smaller homes or apartments, the challenge becomes figuring out how to make a small bathroom functional and stylish at the same time. One handy trick is the installation of small bathtubs, which blend compactness with comfort. These tubs may be small, but they’re mighty when it comes to enhancing your bathroom’s appearance and usability. Finding the right bathtub can transform even the tiniest bathroom into an oasis of relaxation. It fits neatly in a compact space, allowing you to add other design elements that enhance both aesthetics and comfort. Plus, you can accomplish all this without feeling cramped. By making smart choices in planning and design, homeowners can create a bathroom that is both practical and appealing, even when space is limited. Understanding Small Bathtubs 1000mm Small bathtubs measuring 1000mm are perfect for tiny spaces. These tubs usually have a compact width and depth but offer enough room to get a proper soak. They are designed specifically for homes where maximizing every inch counts, without sacrificing the comfort of a good bath after a long day. One of the biggest benefits of choosing a small bathtub is how much space it can save. These tubs enable better movement and organization within the bathroom, allowing for additional storage or décor options. Beyond functionality, small bathtubs also come in various styles—from the modern and sleek to the classic and traditional. This variety ensures there’s a perfect fit for any design preference. Space-Saving Design Tips Making the most of a small bathroom starts with careful planning and smart design decisions. Here’s how you can effectively install a small bathtub in tight spaces: – Measure Your Space: Use a tape measure to get precise dimensions of your bathroom. Note areas where plumbing fixtures might limit your layout options. – Choose the Right Style and Shape: Evaluate different bathtub shapes—oval, rectangular, or corner models to find one that complements the room’s layout. – Optimize Layout: Consider repositioning other fixtures like sinks or toilets to create better flow and make room for the bathtub. When space is scarce, every centimetre counts. It’s important to think creatively about how to rearrange or repurpose existing items. Adding shelves above the bathtub or converting recesses into storage can make a huge difference in keeping things tidy and enhancing function. Installation Considerations Getting ready to install a small bathtub involves a little more than just putting it in the space. Preparation is key to ensuring a smooth process. First, you’ll want to clear the area where the bathtub will go, removing any obstacles and checking the plumbing connections. It’s important to make sure everything is in good shape and ready for the new addition. Next, focus on the following steps to ensure a hassle-free installation: 1. Check Plumbing Accessibility: Ensure all plumbing fixtures are easily accessible before installing the bathtub. 2. Level the Floor: Make certain the flooring under the bathtub is level to prevent future problems like water pooling. 3. Seal Accurately: Use the right sealant around the edges of the bathtub to prevent any water leaks. 4. Secure the Bathtub Properly: Fasten the bathtub to the floor and walls as recommended by the manufacturer to ensure stability. Common challenges include fitting the bathtub into oddly shaped spaces, as well as working around existing fixtures. Engaging professional help can be beneficial here—experts have the know-how to deal with these hurdles efficiently. They also ensure that installation is done correctly, sparing you time and potential headaches down the line. Enhancing Functionality and Aesthetics Installing a small bathtub is just one part of the puzzle. To maximize its advantage, you can enhance your bathroom’s functionality and style by incorporating thoughtful design choices. Adding creative storage solutions around your bathtub can help declutter the space and keep essentials within reach. For instance, consider installing a narrow wall mount or floating shelves above the bathtub. Decorating is another opportunity to make a small bathroom feel open and inviting. Opt for light colours or reflective surfaces that bounce light and create an illusion of space. Mirrors work wonders when placed strategically, especially if they stretch vertically. Choosing fixtures that complement your small bathtub can elevate the aesthetic appeal of the room. Think about taps and showerheads that match the overall theme, be it minimalist or more ornate. Ultimately, crafting a small bathroom that packs both style and function is achievable with the right planning and a few clever choices. Taking the time to enhance these aspects can turn a cramped area into a cozy retreat, making every visit to the bathroom a pleasant experience. Creating Your Dream Bathroom Crafting the perfect bathroom involves piecing together all elements, ensuring they work in harmony to create a space that’s truly inviting. By starting with a small bathtub as the centrepiece, you can shape the rest of the room around it, incorporating storage, design, and practicality. Thoughtful planning and the right products make it easier to transform a compact bathroom into something amazing. There are countless ways to personalize and enhance this space, ensuring it meets your needs while adding a splash of style. With best practices in mind, such as picking suitable materials and colours, you take a step closer to achieving a beautiful and functional bathroom that truly reflects your taste. When you’re ready to transform your compact bathroom into a space that’s truly special, consider exploring how small bathtubs 1000mm can enhance both style and function. CARGO Bathroom & Kitchen offers a range of innovative solutions designed for smaller spaces, helping you create a bathroom that feels both spacious and luxurious.
Planning Your Bath and Kitchen Remodelling Timeline

Transforming your bath and kitchen space can be an exciting venture, with the promise of a more functional and beautifully designed home environment lying ahead. However, to navigate this process smoothly, it’s crucial to have a robust plan. A well-thought-out timeline ensures minimal disruptions to your daily routine and helps bring your vision to life without unnecessary stress. Whether you’re upgrading out-of-date fixtures or crafting a new layout, understanding the stages of remodeling can save both time and headaches. A good plan provides clarity and sets realistic expectations at each stage. You wouldn’t start roasting before chopping the veggies, right? Similarly, a home remodeling timeline outlines the sequence in which tasks should be tackled, ensuring you’re not caught off guard by unexpected costs or delays. Let’s explore how to set your goals and ensure you’re ready to take on this rewarding journey. Setting Your Remodeling Goals The first step in any successful project is defining clear, achievable goals. Knowing what you want from your bath and kitchen remodeling project will guide your decisions and keep you motivated. Start by envisioning the result. Do you desire a sleek modern kitchen with top-of-the-line appliances, or perhaps a cozy bathroom retreat? Once you have a vision, it’s easier to make decisions aligned with your dream space. To set clear goals, consider creating a list of priorities: 1. Functionality: Decide how your space should serve you. Do you need more storage, better lighting, or improved accessibility? 2. Aesthetics: Determine the style you want to achieve. Look into different colour palettes, materials, and design themes that resonate with you. 3. Budget: Establish your financial limits. Think about how much you’re willing to spend and where you can stretch your budget a little if needed. 4. Timeline: Consider how quickly you’d like to complete the remodel. Keep in mind that larger projects will naturally take more time. Recognizing the wants and needs can also trim your budget. Distinguish between must-haves, such as replacing a leaking sink, and nice-to-haves, like under-cabinet lighting. This approach ensures you’ve catered to practical necessities while allowing for style elements without stretching beyond your limits. Setting these goals will keep you focused and help avoid unnecessary detours on your path to that dream space. Creating a Realistic Budget After setting clear goals, the next step is to figure out your budget. A well-planned budget acts like a map, guiding you through your remodeling adventure without unexpected bumps. To align your budget with your remodeling goals, begin by listing all potential expenses. This can include everything from materials and labour to permits and unforeseen necessities. Remember to account for any surprise costs that may come up during the renovation process. A good rule of thumb is to set aside a bit of your budget for these surprises to prevent any financial stress. Prioritizing is key at this stage to ensure you’re directing your resources to the most important aspects of the remodel. Here’s a simple way to categorize your spending: – Fixed Costs: These are expenses that are unlikely to change, such as contractor fees and certain material costs. – Variable Costs: These might fluctuate based on changes you make along the way. For instance, choosing fancier fittings or deciding on more elaborate tile work. – Contingency Fund: Set aside 10-15% of your budget for unforeseen situations. This buffer will give you peace of mind and the flexibility to handle issues smoothly. Creating a budget might seem like a challenging task, but breaking it down into manageable sections can make it much easier. With a clear budget in place, you’re on solid ground to move forward confidently. Establishing a Project Timeline A timeline is the backbone of your remodeling project. It helps you track progress and ensures every aspect of your remodel aligns perfectly. To create an effective timeline, start by identifying the major phases of the project, such as demolition, plumbing, and installations. Allocate appropriate time for each step, factoring in potential delays and necessary recovery time after big jobs. Scheduling is crucial to avoid overlaps, like having a painter waiting while the drywall’s still being installed. Here’s how you can effectively plan: 1. List the Steps: Identify every task required from start to finish. 2. Allocate Time: Consider how long each step will realistically take, not just in your best-case scenario. 3. Buffer Zones: Include extra time between phases for any delays or corrections needed. 4. Regular Updates: Keep track of progress and adjust your schedule if needed to accommodate changes. Developing a timeline doesn’t just keep things organized; it helps in managing expectations. With a comprehensive timeline, each phase should transition smoothly into the next, assisting you in maintaining momentum throughout the project. Choosing the Right Professionals Getting the right team on board can make or break your project. Experienced professionals bring expertise and reliability, ensuring that work is completed to a high standard and within the established timeline and budget. When choosing contractors or designers, seek those with proven track records and good references. A little research goes a long way in finding a team you can trust. Here are some tips for selecting the best people: – Check References: Talk to past clients and get firsthand accounts of their experiences. – Credentials: Verify that they hold the necessary qualifications and licenses for the work involved. – Clear Communication: Choose someone who communicates well and understands your expectations and vision. Partnering with professionals doesn’t just relieve you of the technical challenges. It lets you breathe easy, knowing the details are in capable hands—resulting in a smoother and more enjoyable remodeling journey. Staying Flexible and Adapting to Changes While a plan provides structure, flexibility is important when unexpected challenges pop up. The key is to anticipate that changes will occur and adapting accordingly without losing sight of your goals. This agility allows you to handle surprises confidently and keep your project moving. Encourage open discussions with your team about potential obstacles and solutions. By maintaining flexibility, you can make
Troubleshooting Flush Mechanisms in Back-to-Wall Toilets
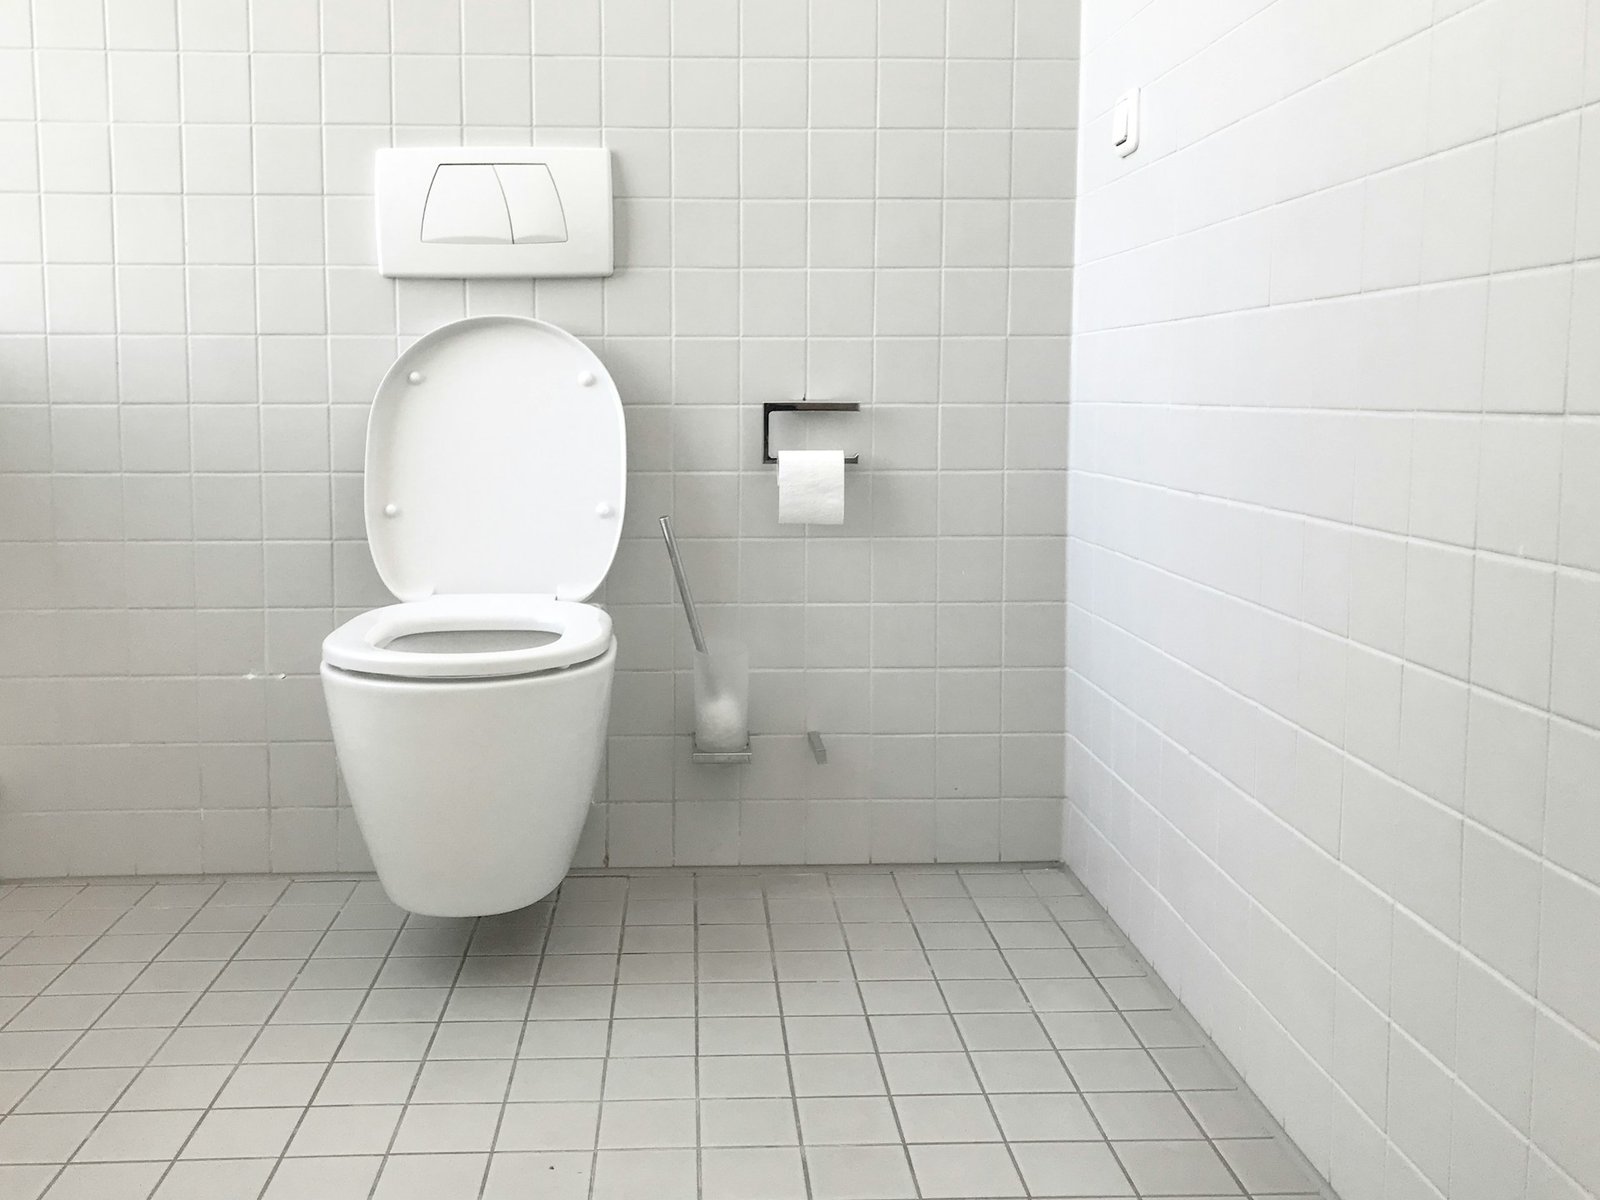
Have you ever flushed your toilet only to find it doesn’t work quite right? Maybe the water just keeps running, or the flush seems a bit weak. This can be especially common with back-to-wall toilets, which are designed to be sleek and space-saving. A proper flush mechanism is key to making sure these toilets work efficiently. We’ll explore some tips and tricks to keep your toilet flushing smoothly. Back-to-wall toilets are becoming increasingly popular in modern bathrooms. They hide the cistern behind the wall, making the bathroom look neater and often more stylish. However, this setup can cause more issues due to the inaccessibility of some parts. Understanding the common problems that can arise and how to tackle them will help keep your bathroom in tip-top shape. Common Problems with Flush Mechanisms in Back-to-Wall Toilets Flush mechanism issues in back-to-wall toilets can be a bit of a puzzle. Here are some of the most common problems you might face: – Weak Flushing: Sometimes, even a full press on the flush button doesn’t create the power needed. This could be due to low water levels or blockages. – Continuous Running Water: After flushing, if the water doesn’t stop, it might mean a faulty flapper or fill valve. – Button or Lever Not Working: If the flush button or lever feels hard to press or doesn’t spring back, it may be stuck or misaligned. Let’s take a closer look at why these issues occur. 1. Weak Flushing: This often stems from a partially closed water inlet valve or sediment build-up in the water lines. Both situations limit water flow, preventing a powerful flush. 2. Continuous Running Water: These are typically caused by a faulty flapper, which doesn’t seal properly, resulting in constant water flow into the bowl. A misaligned float can also trick the system into thinking the tank isn’t full. 3. Button or Lever Not Working: This issue usually arises from a disconnect between the button mechanism and the internal components of the cistern. Mineral build-up or wear and tear might make the button stiff. By recognizing these common problems and understanding their causes, you are better prepared to tackle them head-on, which makes maintaining the sanitation and efficiency of your toilet that much easier. Step-by-Step Troubleshooting Guide Troubleshooting your back-to-wall toilet can seem daunting at first, but breaking it down into manageable steps makes it simpler. Start by checking the obvious issues that often cause most problems. 1. Check the Water Supply: Make sure the water supply valve is fully open. A partially closed valve might limit water flow, resulting in a weak flush. 2. Inspect the Cistern Components: Open the access panel to the cistern and take a good look. Are there visible signs of wear and tear or mineral build-up on the components? If the flapper looks worn out or the fill valve seems stuck, these might need replacement. 3. Ensure Proper Alignment: Sometimes, the internal components can misalign over time. A simple realignment of the flush handle mechanism or the fill valve may rectify flush issues. 4. Check for Sediment Build-Up: Detach the hose and clean any debris clogging the inlet of the fill valve. This blockage can hamper effective water flow, leading to flushing inefficiencies. If these steps don’t resolve your issue, it may be worth considering professional assistance to prevent the problem from becoming worse. When to Call a Professional There are moments when home troubleshooting hits a wall. If the water keeps running after all your attempts, it could signify a more complex issue. A professional can diagnose hidden leaks or other intricate problems that might not be apparent to the untrained eye. Additionally, a professional can provide the peace of mind that comes with expertise and precision. Hiring help can save you time, minimise stress, and ensure that your bathroom’s function and aesthetic stay in perfect harmony. Maintaining Your Back-to-Wall Toilet Prevention is always better than dealing with breakdowns. Regular maintenance can keep your back-to-wall toilet in prime condition. – Conduct Routine Checks: Check the water pressure and the smooth operation of the toilet’s components every few months. This ensures that no small issue is left unnoticed to escalate into something bigger. – Clean the Components: Regular cleaning can prevent mineral build-up, especially if you live in an area with hard water. A soft sponge and a gentle cleaner will do the trick. – Pay Attention to Changes: If you notice any unusual sounds or changes in flushing strength, act quickly. This vigilance can stop potential problems from developing into serious issues. Keep Your Bathroom Functioning Smoothly A well-functioning toilet plays a pivotal role in maintaining a smooth-running home. Recognising and addressing issues as they arise keeps your toilet working efficiently. It also extends the life of your fixtures, saving you from unnecessary expenses and stress in the long run. Stay proactive, and your back-to-wall toilet will continue to perform optimally, contributing to a pleasant bathroom experience every day. To keep your bathroom functioning at its best, considering the installation or upgrade of back-to-wall toilets can be a smart choice for both efficiency and style. For more guidance on selecting the right fit for your space, explore the range available at CARGO Bathroom & Kitchen. With proper planning and care, your bathroom can remain both functional and visually appealing.
Fixing Loose Fittings on Powder Room Vanities

Every bathroom deserves a touch of elegance, and powder room vanities are perfect for adding that flair. They might be compact compared to other vanities, but they pack a punch in style and functionality. Sitting pretty in smaller spaces, these vanities serve as essential pieces in bathroom design. But sometimes, elegance comes with a few snags, like loose fittings that can turn your stylish setup into a wobbly spectacle. Loose fittings are more than just a minor annoyance; they affect how your vanity functions and looks. A wobbly tap or drawer handle isn’t just a nuisance—it can lead to further damage and costly repairs if not addressed promptly. Fixing these issues ensures your vanity looks good and functions smoothly. With their prime position in your bathroom, any instability can detract from the overall décor you’ve worked so hard to create. Let’s dive into recognizing signs of trouble and the common culprits that might cause these fittings to loosen over time. Identifying Loose Fittings Spotting loose fittings on your powder room vanity can sometimes be straightforward. Here are things to watch out for to make sure everything stays secure: – Wobbling Fixtures: Check for taps or knobs that move side to side or up and down when touched. This is the most apparent sign fittings aren’t stable. – Misaligned Drawers or Doors: These often don’t close properly or appear crooked. This might indicate that screws and bolts need tightening. – Unsteady Countertops: Place a slight weight on your countertop. If there’s any movement, it suggests instability, either in the fittings or the vanity itself. Ensuring that you have the right tools makes all the difference in checking and fixing these problems. There are essential items to keep handy: 1. Screwdriver: Useful for tightening screws that might have become loose over time. 2. Wrench: Needed to secure bolts and nuts. 3. Flashlight: This is invaluable for spotting issues in poorly lit areas or hidden spots. 4. Level: Ensures your vanity sits evenly, which is essential for both function and appearance. Taking a few minutes to regularly inspect these elements can save you time and money in the long run. Catching issues early means that your vanity stays looking fabulous and stays functional. Ready to fix any wobbles before they become bigger problems? Let’s explore what might be causing these loosened fittings. Common Causes of Loose Fittings Understanding why your fittings become loose can help prevent future problems. Three main culprits often lead to this issue. Firstly, installation errors play a significant role. If fittings aren’t mounted correctly or tightened enough during installation, they are likely to come loose with use. Checking that screws and bolts are adequately secured during setup can prevent these headaches later. Then there’s the element of wear and tear. Over time, daily use can gradually loosen fittings. Regular checks and maintenance can keep this from becoming a more severe issue. Simply put, keeping an eye on how fixtures are holding up during normal use can save you time and money. Lastly, water damage is a sneaky adversary. Excess moisture can cause materials to swell and fittings to loosen. Ensuring your vanity is properly sealed and that leaks are promptly fixed can maintain the integrity of your fittings. Keeping these factors in mind helps in maintaining your vanity’s appearance and function. Step-by-Step Guide to Fixing Loose Fittings Fixing quick fixes can make a world of difference in your bathroom. Tackling loose fittings? Here’s how to do it: 1. First, assemble a few essential tools: a screwdriver, wrench, flashlight, and any replacement parts you might need. 2. Begin by tightening screws and bolts. Use your screwdriver and wrench to make sure everything is snug. Pay special attention to wobbly fixtures and check that each is tightened properly. 3. If any parts appear damaged, it’s time to replace them. Unscrewing the old and securing the new is generally straightforward, but make sure all parts fit snugly. 4. Lastly, check all attachments for security. Ensure they’re correctly aligned and stable. Use a level to confirm surfaces are even. This step-by-step care keeps everything in top shape, preventing small issues from becoming bigger problems. Prevention Tips to Keep Fittings Secure Staying ahead with regular care keeps those wobbles at bay. A few simple steps can maintain your vanity’s pristine condition. Conduct regular maintenance checks. Inspect fittings and tighten any that seem loose. This can often be a monthly task or every few months, depending on use. Investing in quality materials is smart. Choosing durable parts can ensure longer-lasting stability. It may cost a little more upfront but saves money on future repairs. Also, follow proper installation practices. Whether you’re doing it yourself or hiring a professional, confirm that everything is installed correctly from the start. Keeping these tips in mind helps maintain the quality and appearance of your fittings over time. Trusting these simple approaches, your vanity stays functional and secure, highlighting its elegance in your space. For those looking to enhance their bathroom’s elegance and functionality, consider the benefits of a well-fitted powder room vanity. CARGO Bathroom & Kitchen offers a variety of vanities tailored for stylish upgrades, helping you complete your bathroom makeover with both flair and long-lasting stability.